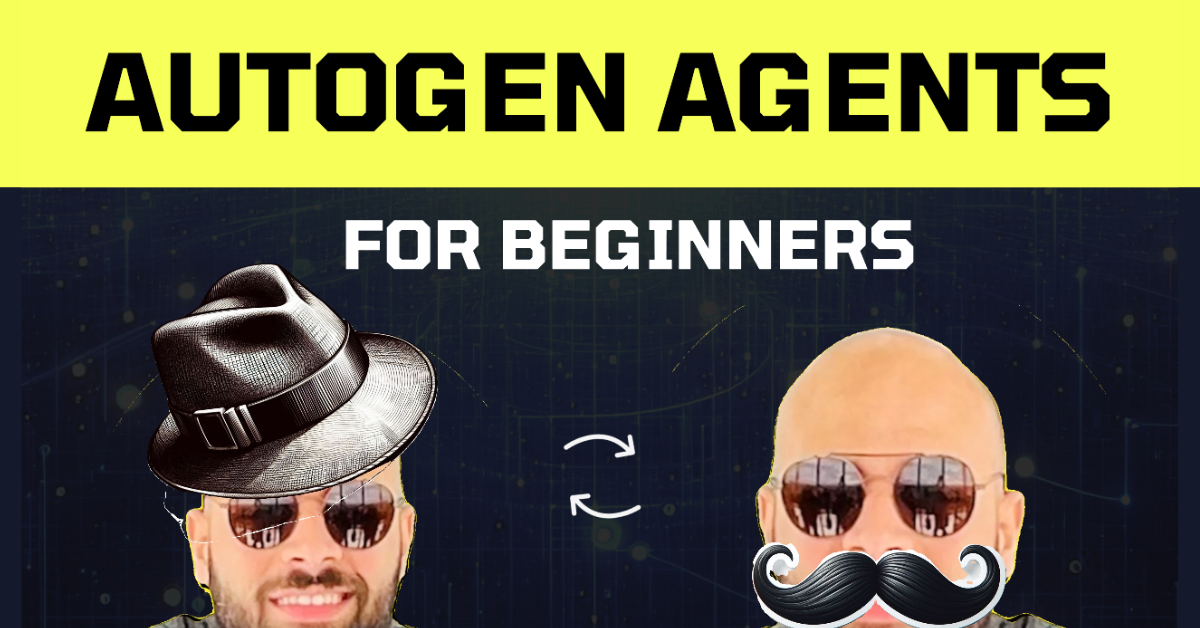
Meet AutoGen Agents: What are they and how they work for you
Building agentic apps is not a complicated task! Let's see how this framework from Microsoft approaches multi-agent conversations and allows you to get started in no time!

Hi friends!
Today, we're going to see how agents think, communicate, generate, debug, and execute code to complete a task.
Then, we're going to build a simple AutoGen app with two common agents that will work on generating a word cloud image based on the contents of a given webpage.
It will look something like this:
Watch this tutorial 📺
I'm now uploading weekly videos on YouTube! So, make sure you subscribe to the channel. Here's the full video version of this tutorial:
What are AutoGen agents?
You can think of an agent as a digital version of a person. This is because it is capable of understanding and using language to have conversations with humans and other agents.
In AutoGen, you'll hear the term "Conversable Agents"; it's just a way of saying that the agent can have conversations.
Agents figure out how to solve problems by communicating with each other. They achieve this by using large language models, tools, and more. The problems agents need to solve depend on your use case and what you're trying to achieve.
All right, now let's meet our agents.
Meet the Agents!
The following is a Workflow illustrating the interaction between a human (me), and two agents:
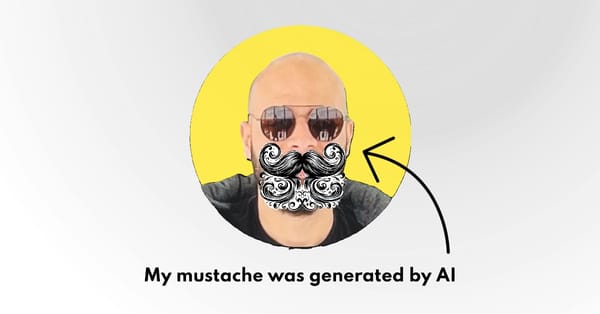
- User Proxy (the one with the hat)
- Assistant (the one with the mustache)
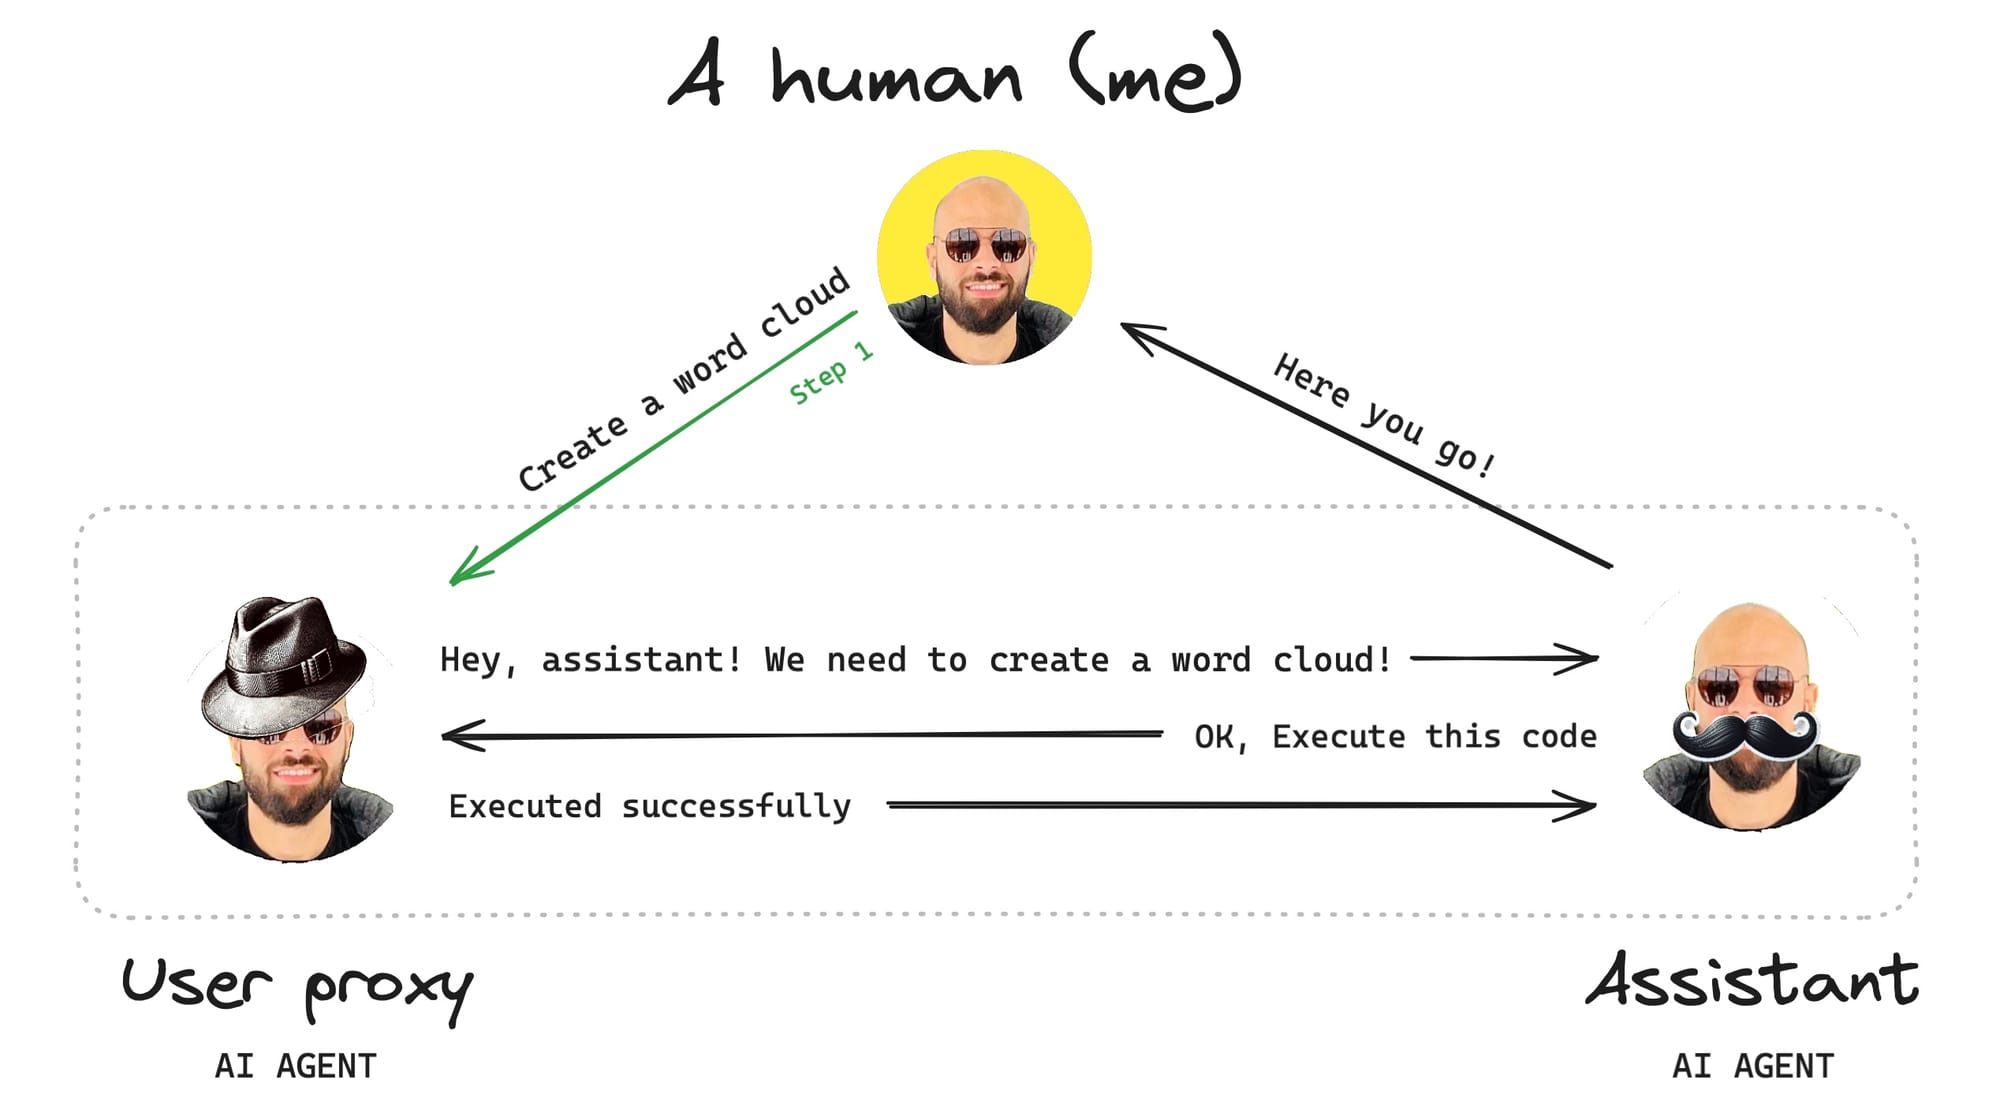
The workflow starts with my request. In this case, I'm asking the agents to "Create a word cloud based on the contents of a given URL". As soon as I initiate this conversation, the following sequence of events takes place:
- The
UserProxyAgentrelays my request to theAssistantAgent. - The
AssistantAgentprocesses my request and comes up with two options:- Generate Python code to complete the task.
- Use existing Python code to complete the task (if applicable).
- The
AssistantAgentthen sends the code to theUserProxyAgent. - The
UserProxyAgentexecutes the code and notifies theAssistantAgent. - Finally, the
AssistantAgentinforms me that the request is done.
But you may be asking:
- Why was
UserProxyAgenttasked with relaying the request? - How did the
AssistantAgentgenerate or make use of existing code?
To understand the why and the how let's take a look at the parent class of UserProxyAgent and AssistantAgent: ConversableAgent.
An overview of ConverableAgent
AutoGen comes with a built-in generic agent type called: ConversableAgent.
As you now know, "Conversable" means "the ability to have a conversation", therefore, a Conversable Agent is a type of agent that can send and receive messages.
A ConversableAgent is capable of the following:
- Communicate using language by integrating with one or more LLM.
- Execute Python code by using a Docker container or a local environment.
- Request human input for decision-making, whenever necessary.
If you want to see the code, here's what a ConversableAgent looks like in Python:
...

code_executor_agent = ConversableAgent(
    name="code_executor_agent",
    llm_config=False,
    code_execution_config={
        "executor": executor,
    },
    human_input_mode="ALWAYS",
)

...
Now, let's go back to its subclasses:
UserProxyAgent(The one with the hat)AssistantAgent(The one with the mustache)
What is the UserProxyAgent in AutoGen?
As the name suggests, this agent is a user proxy, it acts on behalf of the user. Its purpose is to relay input from the user, to one or more agents.
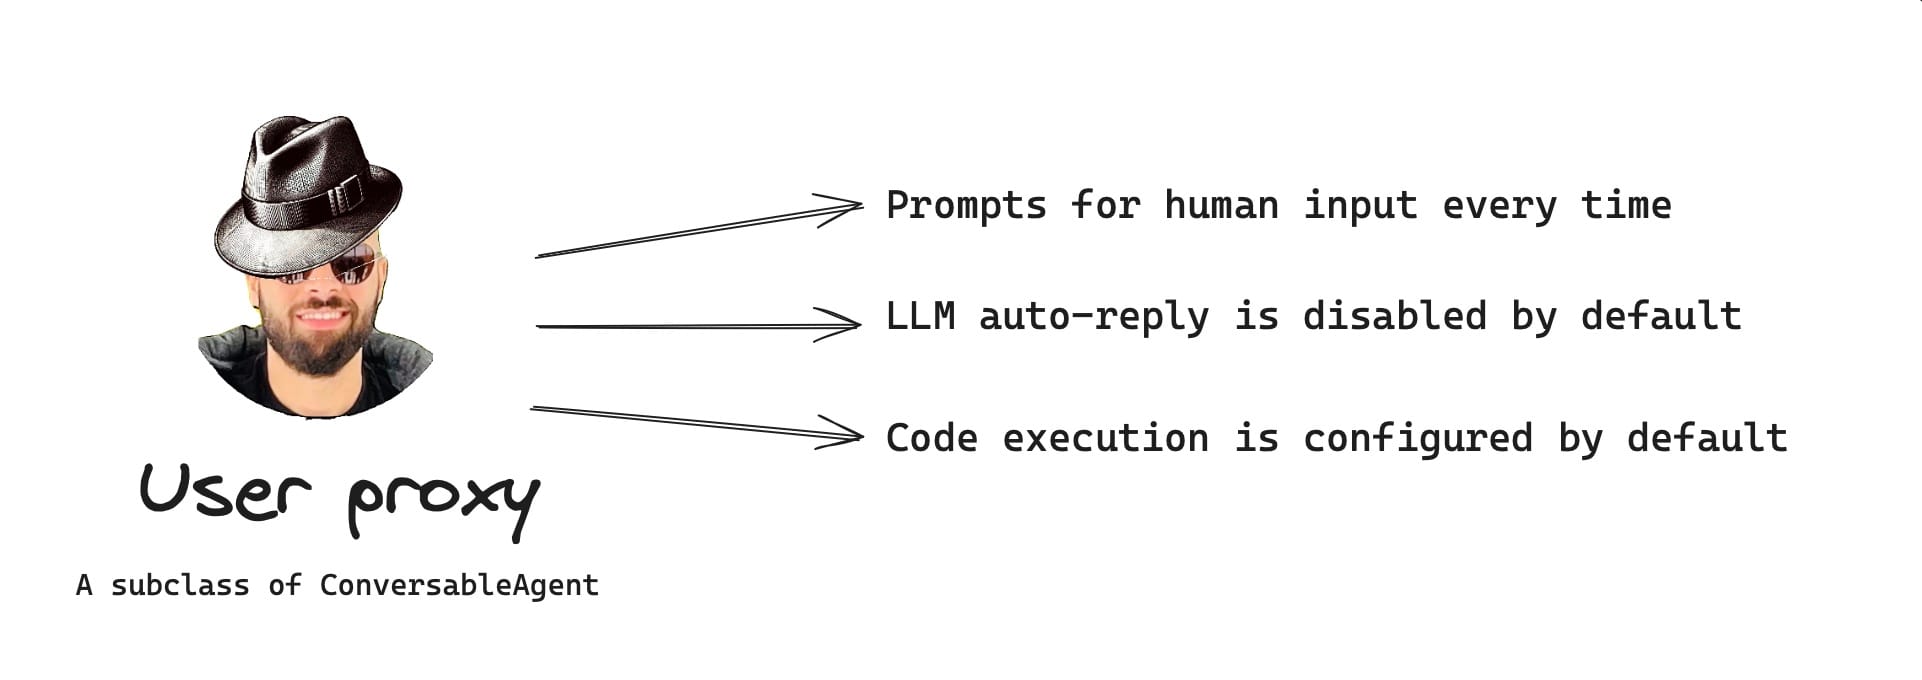
A UserProxyAgent is a subclass of ConversableAgent that:
- Requests human input every time it receives a message.
- Executes code whenever necessary.
- Does not use a large language model for language.
- Comes with a default
system_messageanddescriptionfields.
UserProxyAgent to work without human input, you can set its human_input_mode property to "NEVER".Here's how to define a UserProxyAgent in Python:
# without code execution
user_proxy = UserProxyAgent("user_proxy", code_execution_config=False)

# with local code execution (more common)
user_proxy = UserProxyAgent(
    "user_proxy",
    code_execution_config={
        "executor": autogen.coding.LocalCommandLineCodeExecutor(work_dir="coding")
    }
)
What is the AssistantAgent in AutoGen?
This type of agent is designed to perform tasks like generating and reviewing code, or other helpful actions. It uses LLMs and tools to complete these tasks.

The AssistantAgent is a subclass of ConversableAgent that:
- Never asks for human input.
- Never executes code.
- Uses one or more LLMs for language.
- Comes with a default
system_messageanddescriptionfields.
UserProxyAgent, this is the default behavior which could be customized depending on your use-case.Here's how an AssistantAgent is defined in Python:
assistant = AssistantAgent("assistant", llm_config=llm_config)Microsoft recommends the following when using a UserProxyAgent or AssistantAgent:
"It is very important to note that theUserProxyAgentandAssistantAgentare meant to be shortcuts to avoid writing thesystem_messageinstructions for theConversableAgentclass." - https://microsoft.github.io/autogen/docs/tutorial/code-executors#best practice
Demo: Building a two-agent workflow
Demo time! Let's build our app. Here's what we're going to do:
- Step 1: Create a new directory and environment
- Step 2: Install the AutoGen package
- Step 3: Configure LLM
- Step 4: Create the
UserProxyAgent - Step 5: Create the
AssistantAgent - Step 6: Initiate the conversation
- Step 7: Run the code
Step 1: Create a new directory and environment
First, we're going to create a new work directory for our project. Type the following in your terminal window:
mkdir autogen-agents-demo
cd autogen-agents-demo
Once inside the autogen-agents-demo folder, go ahead and setup your virtual environment as follows:
python3 -m venv venv
source venv/bin/activate
Step 2: Install AutoGen
Next, you'll need to install the pyautogen package. I use pip:
pip install pyautogenStep 3: Configure LLM
I'm going to use gpt-4, but you can choose to configure any other OpenAI model or even local LLMs.
Create a new Python file:
touch app.pyIn the app.py file, enter the following:
import os

...

llm_config = {"model": "gpt-4", "api_key": os.environ["OPENAI_API_KEY"]}To use OpenAI's gpt-4 model for language and code generation, you'll need to add your OpenAI API key by typing the following in your terminal window:
export OPENAPI_API_KEY="YOUR_KEY_HERE"Step 4: Create the UserProxyAgent
Next, we're going to create an AssistantAgent:
from autogen import UserProxyAgent

...

user_proxy = UserProxyAgent(
    "userproxy",
    human_input_mode="NEVER",
    code_execution_config={
        "executor": autogen.coding.LocalCommandLineCodeExecutor(work_dir="coding")
    }
)

...
I set the human_input_mode to "NEVER". Now, since both agents do not require human input, the conversation will be completely handled by the agents.
The code_execution_config tells the UserProxyAgent to execute any code in the local command line.
Step 5: Create the AssistantAgent
Next, we're going to create an AssistantAgent with the default configuration:
from autogen import AssistantAgent

...

assistant = AssistantAgent("assistant", llm_config=llm_config)

...
Step 6: Initiate the conversation
I'm now going to instruct the UserProxy to relay the message to the Assistant. Here's how this is done:
user_proxy.initiate_chat(
    assistant,
    message='''
        Generate a word cloud PNG based on the contents of this: https://www.gettingstarted.ai/autogen-studio-overview
        Exclude all html tags, css, js, and words that are less than 4 characters long.
        Save the final image as "wordcloud.png".
    '''
)
Once we run the code above, the agents will work autonomously to complete the task described in the message property of the initiate_chat function.
Step 7: Run the code
Let's make it happen!
Type the following and hit return: python3 app.py
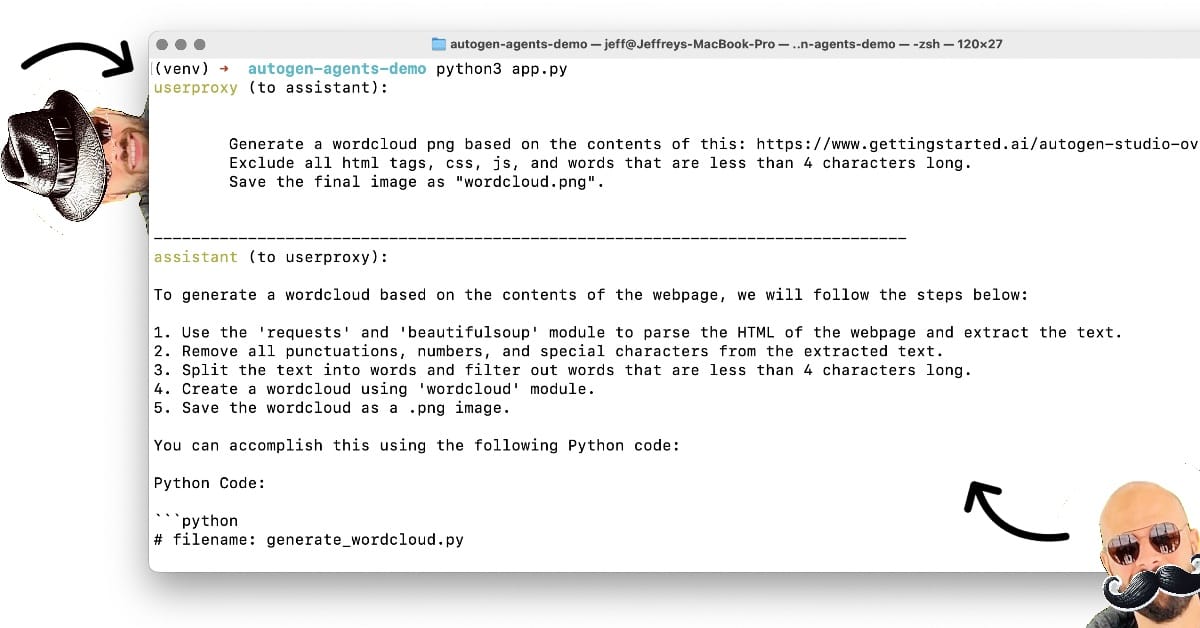
After some back and forth, eventually, the Assistant comes up with working code, while the UserProxy executes it successfully, resulting in the word cloud PNG at the top of this post.
Beautiful.
If we examine your work directory, you should have something similar to the following:
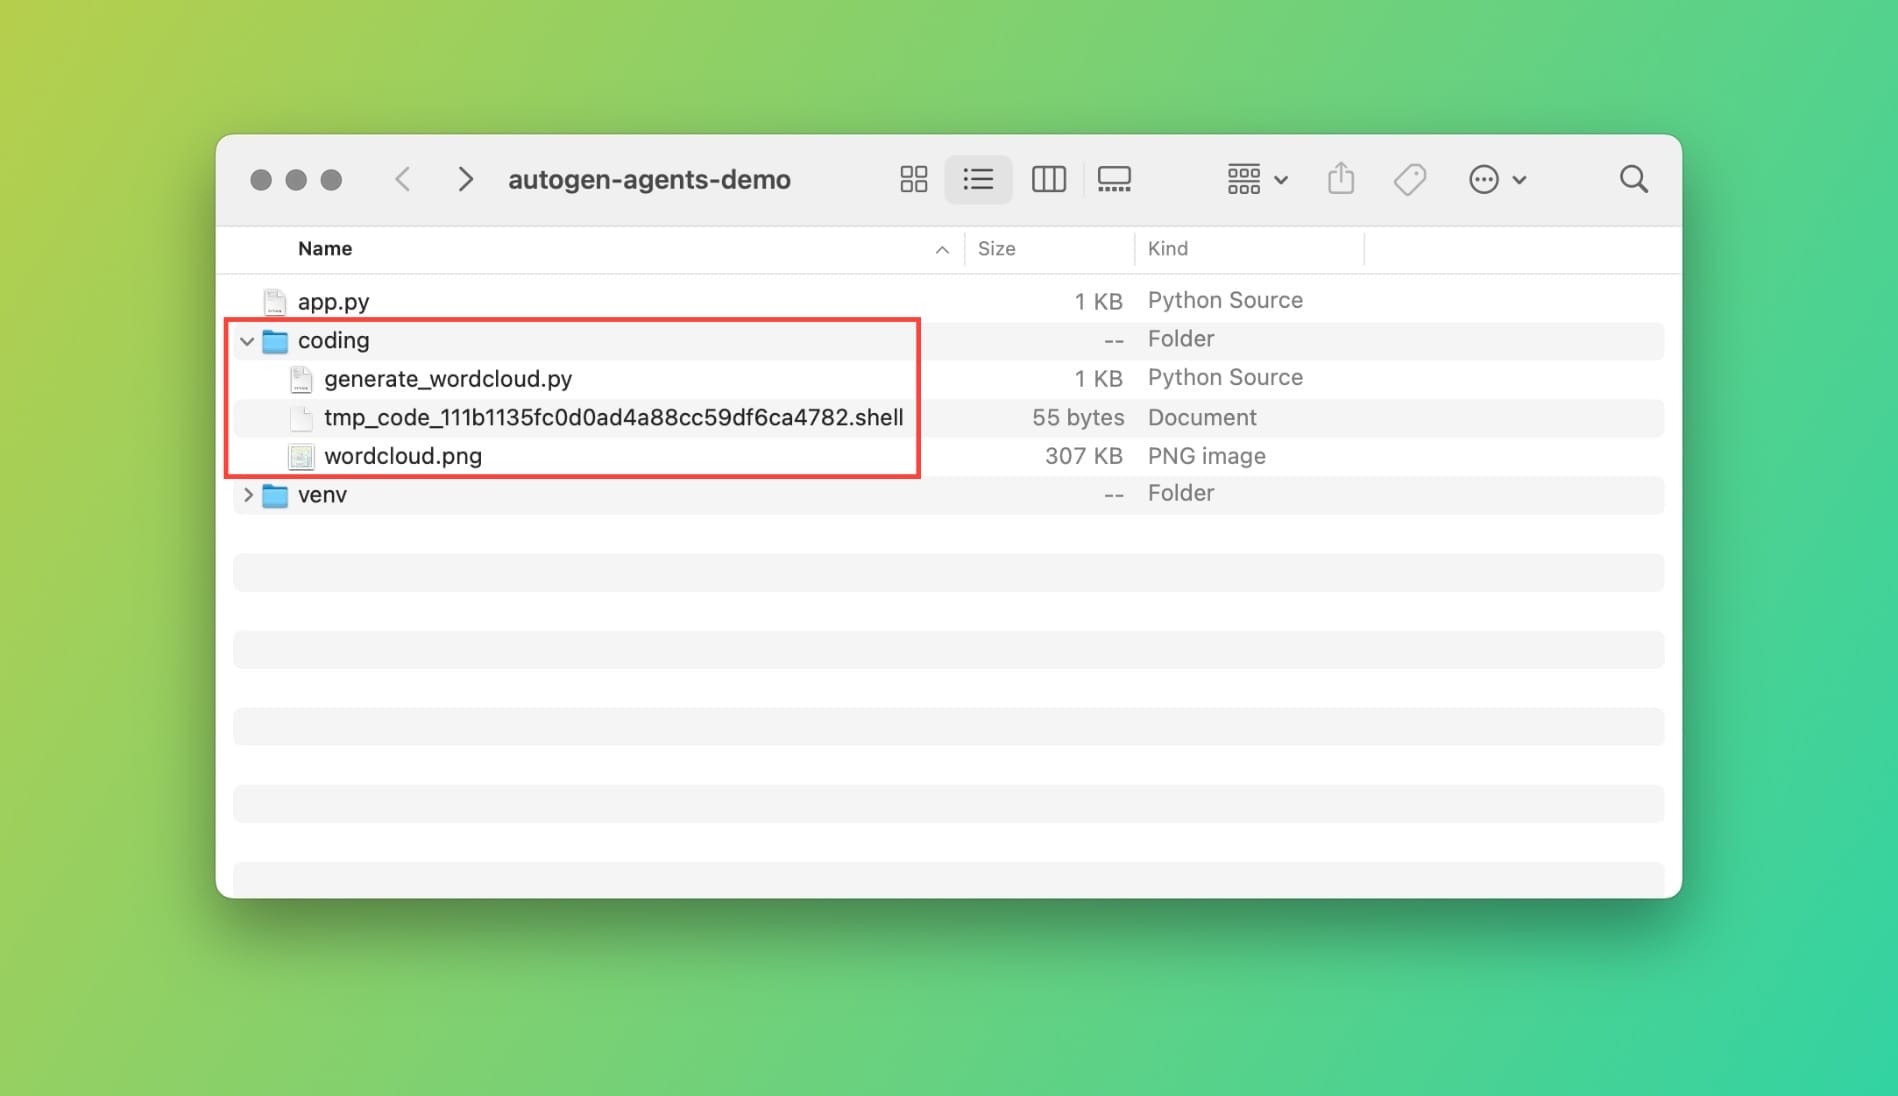
The coding directory is what we specified in Step 4, and it is used by the UserProxyAgent to store and execute functions generated by the AssistantAgent.
The raison d'être (Why do we need agents)
Now you could say, but Jeff, why the heck would I need agents? Can't I just do this in a simple Python app?
While you could, why would you? And how would you handle code generation, execution, and issues? You will find yourself building another AutoGen to tackle these issues...
AI agents, unlike people, are not susceptible to fatigue or distraction. Therefore, they are especially efficient at repetitive tasks and analysis.
But the most important feature of agents is their ability to collaborate to solve a problem. As we've seen, one agent could perform tasks like executing code, while the other agent is assisting in research.
Examples of agentic applications
Once you recognize that agents behave like people, you will realize that the answer is: Almost anything.
A few potential use cases for multi-agent apps:
- Stock Trading: Multi-agent AI systems can analyze market trends, company data, and news sentiment to make informed trading decisions. This can be especially helpful in high-frequency trading where rapid response is crucial.
- Cybersecurity: A team of AI agents can continuously monitor networks, identify suspicious activity, and even take proactive steps to block cyberattacks. This can provide a more robust defense than any single security solution.
- Traffic Management: Imagine AI agents controlling traffic lights, optimizing routes, and even communicating with self-driving cars. This can significantly improve traffic flow and reduce congestion.
Things you should consider...
Cost of operation
Running agents may break your wallet. Especially when using LLMs like OpenAI's GPT-4. Make sure you account for costs associated with running your agentic app.
Some strategies include using specific models for specific tasks, as well as, integrating human input when possible. Things can go out of hand, especially when agents are completely operating autonomously.
Another useful option is the max_turns parameters that you could set when initiating a chat or the max_consecutive_auto_reply property of the ConversableAgent object.
It's good practice to set interaction limits for your agents, if possible.
Token limitations
If you run into API limitation issues due to a large number of tokens, consider using AutoGen transformations. I am not going to cover this topic in this post, but it's essentially a way to limit the number of tokens. For more information, read this blog post.
The UserProxyAgent fails to execute the code
In some cases, the UserProxyAgent fails to save and/or execute the generated code. This happened when I was testing AutoGen agents with gpt-3.5-turbo. There is an open issue on GitHub, check it out if you run into a similar issue and you cannot switch to gpt-4.
Conclusion
AI agents are here to stay. AutoGen makes working with agents easy since it's been a multi-agent framework since its inception.
You're not going to grasp how powerful these things are until you watch your own agents interacting and working on a task that you give them.
I'm glad you made it this far! I'd love to have you join as a member so you're always receiving the latest updates and unlimited access to all posts.
I'm also on X, and more recently on YouTube! Make sure to subscribe to the channel to show your support!
Source code for the geeks
import os
import autogen
from autogen import AssistantAgent, UserProxyAgent

llm_config = {"model": "gpt-4", "api_key": os.environ["OPENAI_API_KEY"]}

assistant = AssistantAgent("assitant", llm_config=llm_config)

user_proxy = UserProxyAgent(
    "userproxy",
    human_input_mode="NEVER",
    llm_config=False,
    code_execution_config={
        "executor": autogen.coding.LocalCommandLineCodeExecutor(work_dir="coding")
    }
)

user_proxy.initiate_chat(
    assistant,
    message='''
        Generate a word cloud PNG image based on the contents of this URL:
        https://www.gettingstarted.ai/autogen-studio-overview
        Exclude common words like "the", "and", "is", etc.
        Remove all html tags, css, js, and words that are less than 4 characetrs long.
        Save the image as "wordcloud.png".
    '''
)